4. Basic Features
Standard Controls of Microphone Preamps
The following features can be found in practically every preamp or channel strip, regardless of price range:
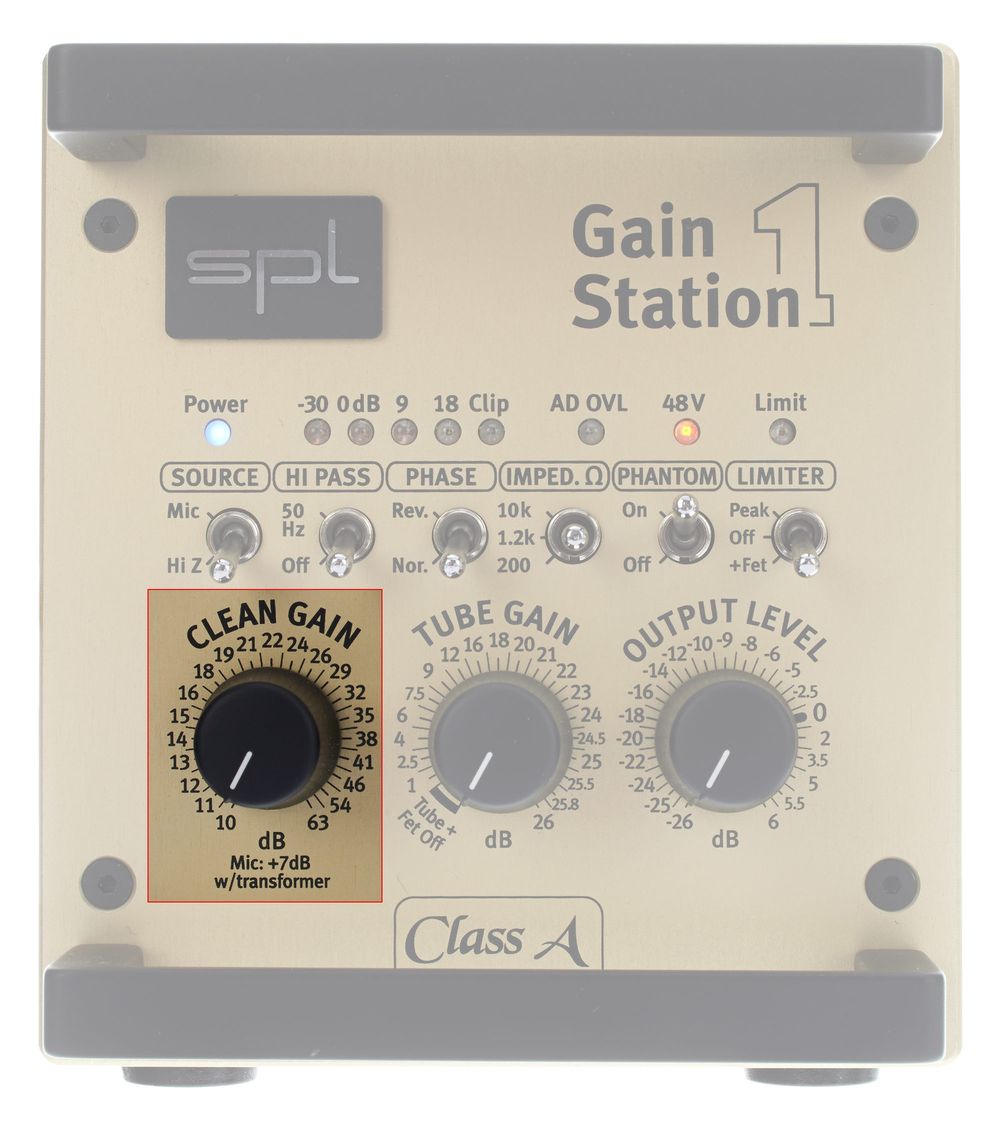
Gain Knob
The primary function of the preamp is signal amplification. Therefore, the most essential element is a gain knob, which allows you to adjust the necessary signal amplification.
The gain can be continuously adjustable or changed in steps via a stepped potentiometer. Some models also have a knob that allows you to adjust the level continuously within these gain steps. The gain range of a good preamp should be at least 60 dB. Very good preamps can achieve 70 to 80 dB.
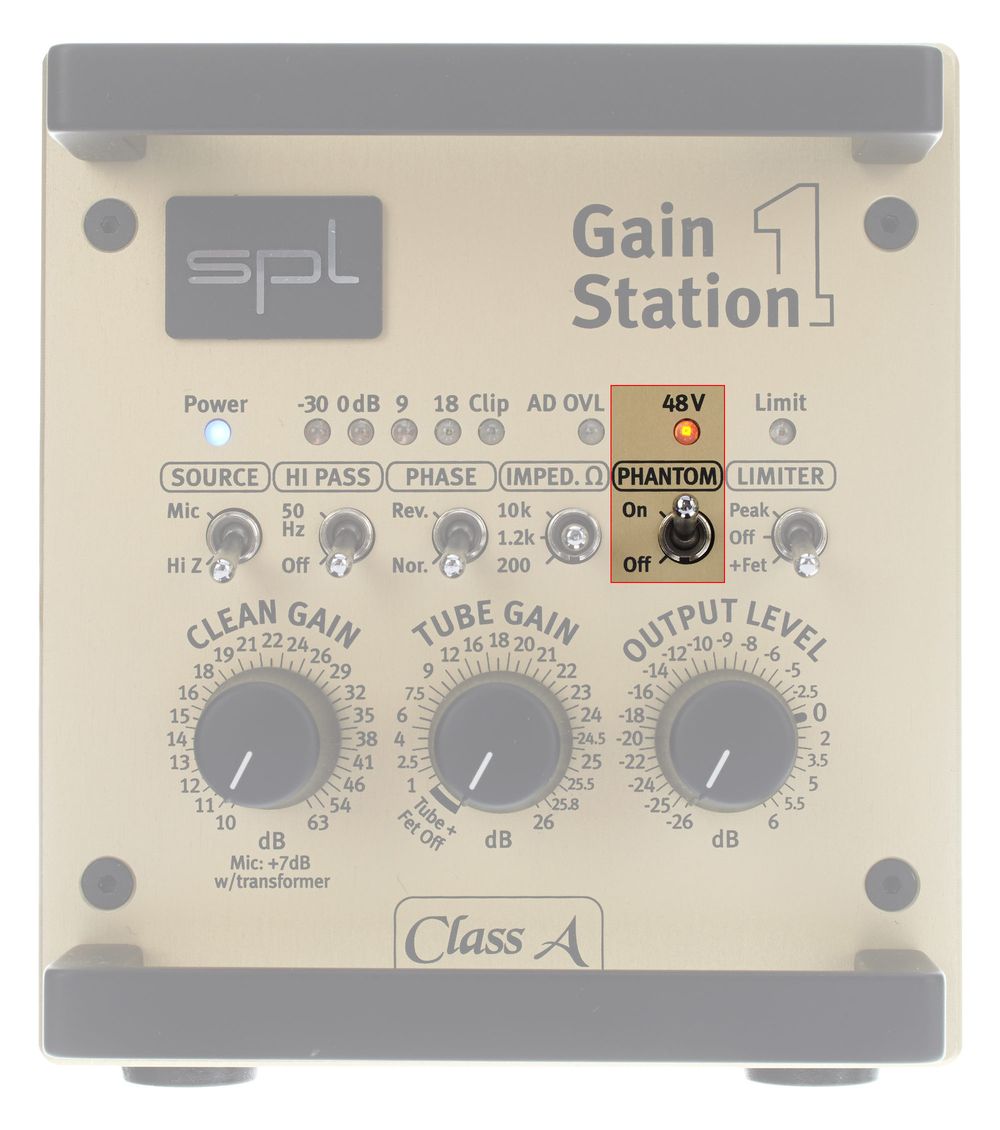
Phantom Power
A second essential function element is the 48-volt phantom power, which is essential for powering connected condenser microphones. Higher-quality phantom power designs have ramping. This means that the supply voltage does not build up suddenly but increases to its final value over several seconds. This reduces loud popping noises when activating/deactivating.
If it's a multi-channel preamp, activation/deactivation per channel is desirable but not mandatory. Dynamic microphones, which do not require a supply voltage, work flawlessly even when powered by phantom power. You just need to be cautious with ribbon microphones, which may be damaged by phantom power.
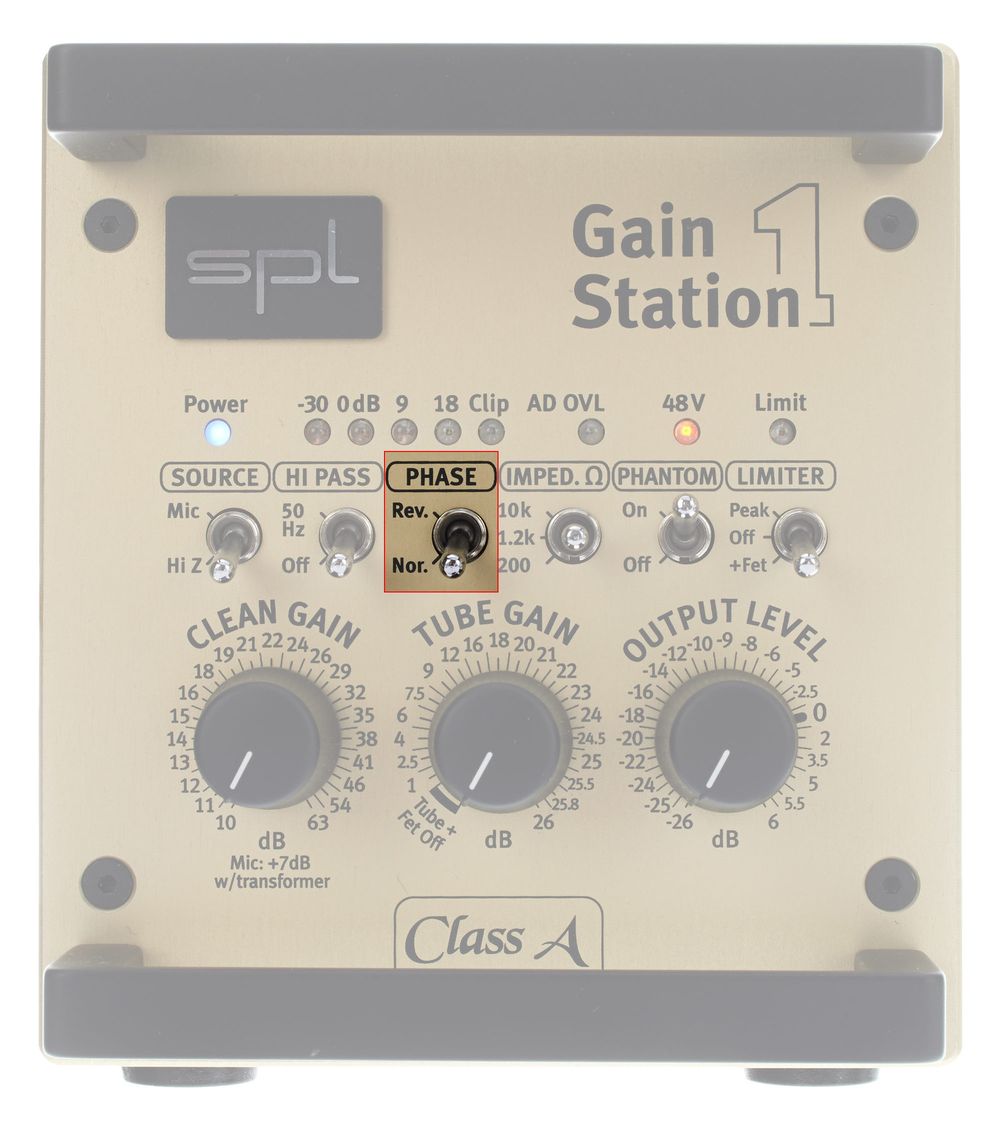
Phase Reverse
A phase reverse switch is mainly needed when recording a signal source with multiple microphones. For example, when miking a guitar amplifier with one mic on the speaker grille and another room mic. This can cause unwanted phase cancellations, which can be (partially) corrected by pressing the phase reverse switch on one of the two channels. For single-channel preamps and channel strips, a phase reverse switch is not as important.
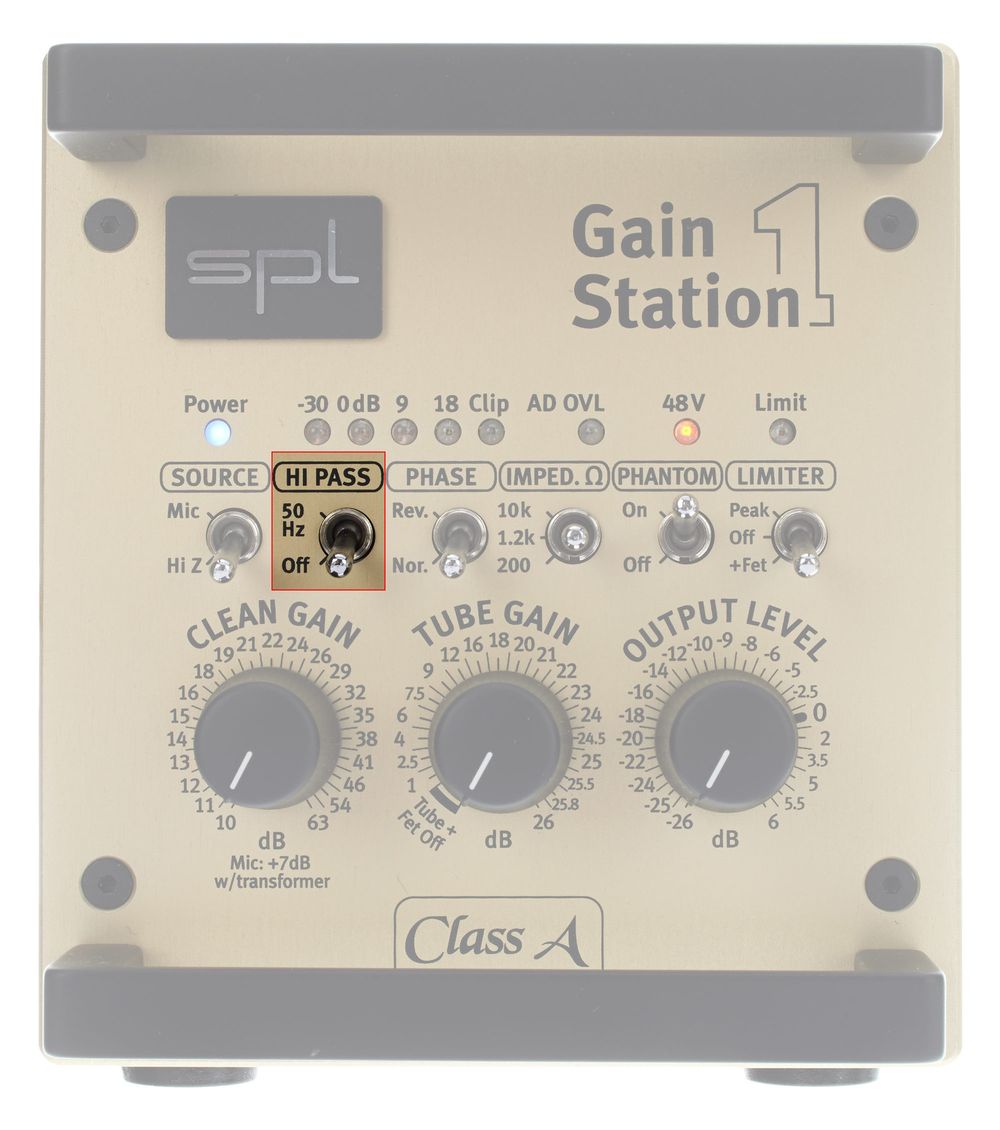
Low Cut (= Hi Pass)
Many manufacturers label the switch "Hi Pass," but "Low Cut" makes much more sense. Low-frequency attenuation is used, for example, to get rid of low-frequency disturbances like rumble. A low cut is also useful for compensating for the so-called proximity effect. With a short microphone distance, almost all microphones increase bass reproduction. The voice sounds big and full. However, if this happens excessively, the frequency range of the vocals interferes with instruments like bass and guitar. Therefore, it's advisable to trim down an exaggerated bass range in the voice with the low cut filter. Some preamps have a variable low cut. This is great because you never have to trim more than necessary.
Pad
The pad switch is used for level attenuation. You need it when you want to record very loud signals without distortion, like drums and percussion, brass instruments, and sometimes extremely loud singers.
Level Meter
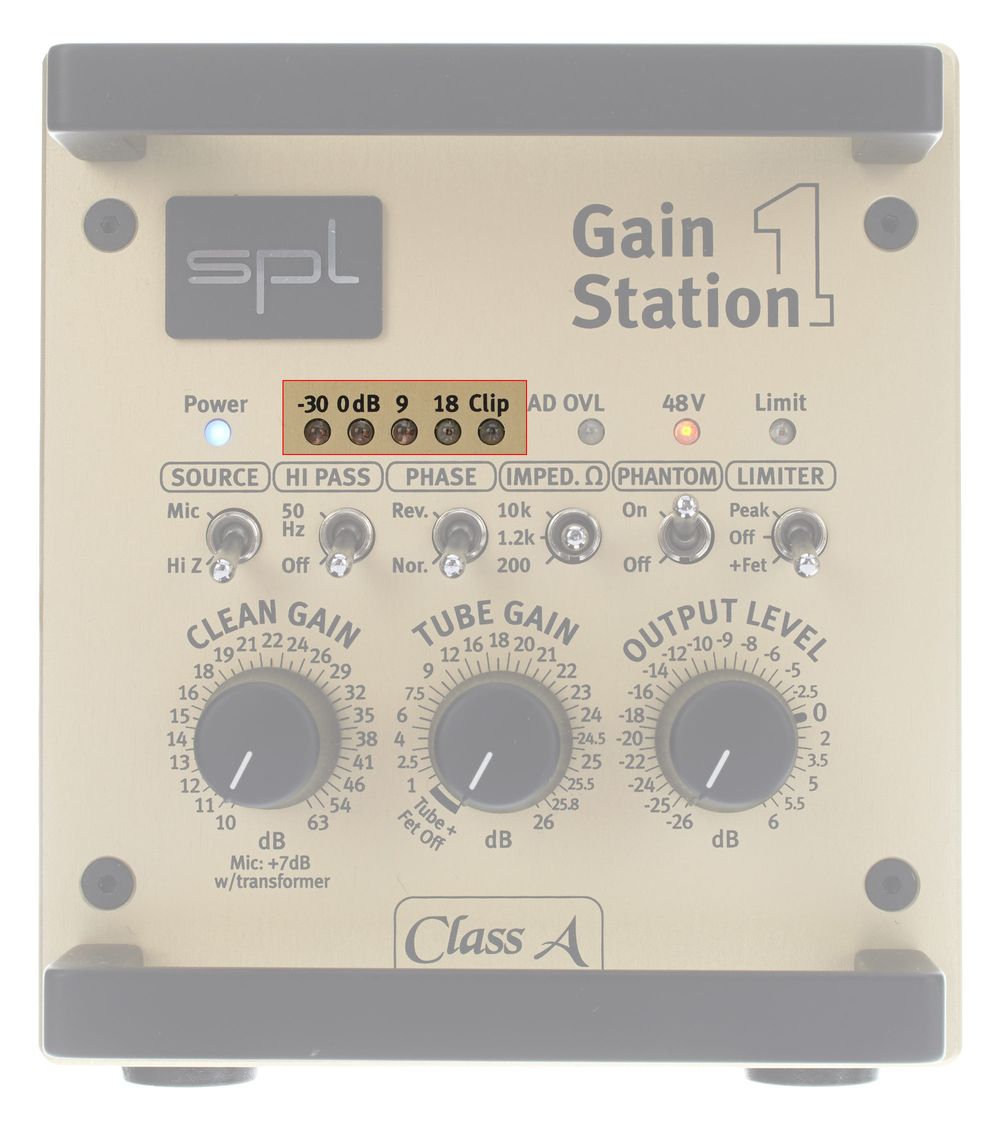
The level meter can be an analog pointer instrument or an LED chain. Analog VU meters are cool and stylish, but LEDs are more practical and easier to read. Simple versions only have one LED, indicating the presence of an input signal or preamp overload.
Microphone Input
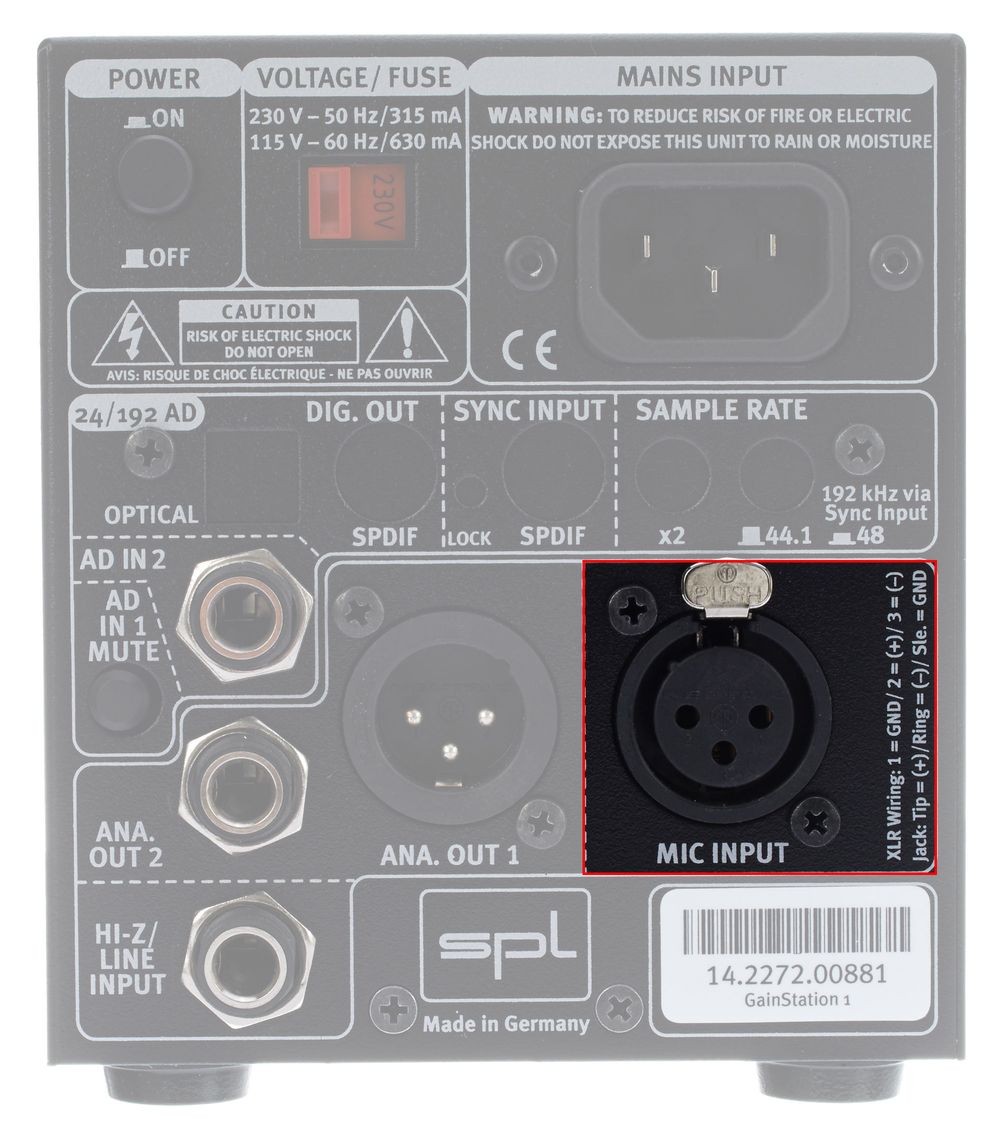
To connect a microphone to the preamp, you naturally need a corresponding microphone input. This is designed as a 3-pin XLR female connector. Preamps with a microphone input as a jack connector are fortunately extremely rare and do not meet professional standards. Stay away from such models.
Line Output
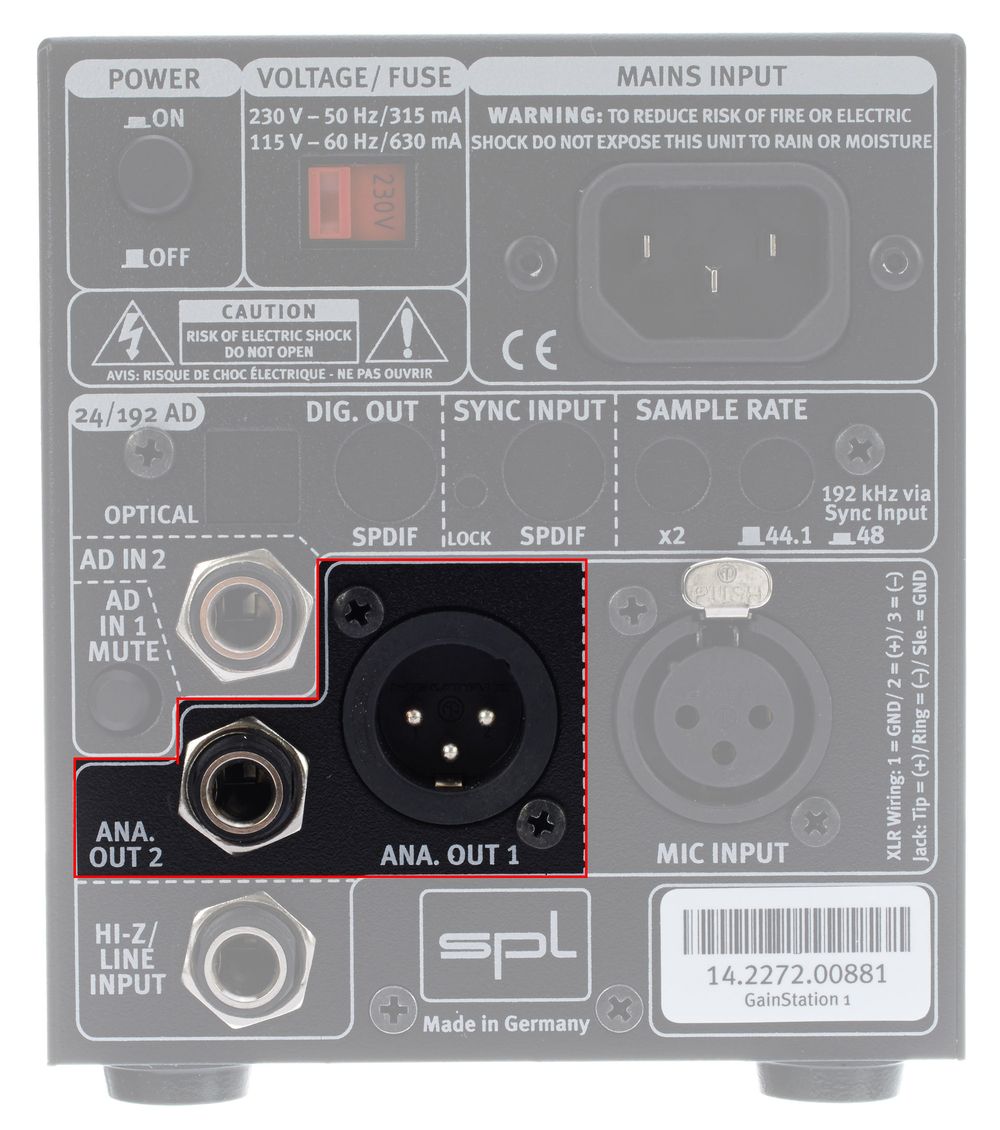
The signal amplified by the preamp must logically be routed to a subsequent signal processor, AD converter, or audio interface. Therefore, you will find a line output (line out) on every preamp. This can be designed for balanced or unbalanced signal routing. Some preamps also offer both variants. Whenever possible, the balanced output should be used. So, if the subsequent device also has a balanced line input (line input), the preamp should be connected symmetrically. Compared to unbalanced, balanced signal transmission is much more resistant to hum loops and interference. Balanced line outputs are either provided as XLR male connectors or stereo jack sockets (TRS). Unbalanced outputs are available in the form of RCA/phono jacks or mono jack sockets.


