12. Audio Quality
This is what you should pay attention to
In order to achieve the best possible sound in your home recording studio, the entire signal chain must be just right. A particularly high-end mic will be no use to you if you then connect it to a 50-Euro audio interface with humming pre-amps. The quality of the monitors is just as important as the acoustic characteristics of your space. This is something you should keep in mind when budgeting.
The major share of the sound is generated in the mic, not in your DAW. Anything that the recording misses out is normally not recoverable in subsequent mixing - you'll probably just "disimprove" the original material. Don't rush the recording of vocals or instruments; invest some time in making it perfect. Experiment with the positioning of the mic in the room, and the distance between the mic and the mouth or instrument. Make sure that instruments are properly tuned, and that the sound emerging from the instruments is actually close to what you envisage. A piccolo snare drum, for example, may sound great for Funk but is completely unsuitable for Heavy Metal.
Adjust the mic levels so that they are perfect. If they arew too low, the signal-to-noise ratio is bad. If they are too high, you may experience distortion. The distortions of AD converters affect your sound particularly negatively, and they can destroy even the best performance.
Use equalisers and compressors with restraint. Don't attempt to use the equaliser to amp up a piccolo snare into a Heavy Metal Snare. That won't work! If, however, you started out by recording a Heavy Metal snare drum, you'll find it easy to get the proper sound even with moderate equaliser and compressor settings. The same can be said for the choice of the right virtual instruments in MIDI arrangements.
A question of resolution
Beginners often have to face the question which sampling rate they should use. In the early eighties, the standard frequency was defined as 48 kHz, since human ears can perceive frequencies of up to 20 kHz, and a small buffer was included for the converters' anti-aliasing filters. For digital recording, the frequency must always be doubled thanks to the laws of physics. Later, the 44.1 kHz frequency was added, since record labels demanded longer playing times for CDs. For 99.9 per cent of people, the audio quality of a regular 16-bit audio CD is clearly sufficient for any musical style; nowadays, people even accept relatively badly coded mp3s.

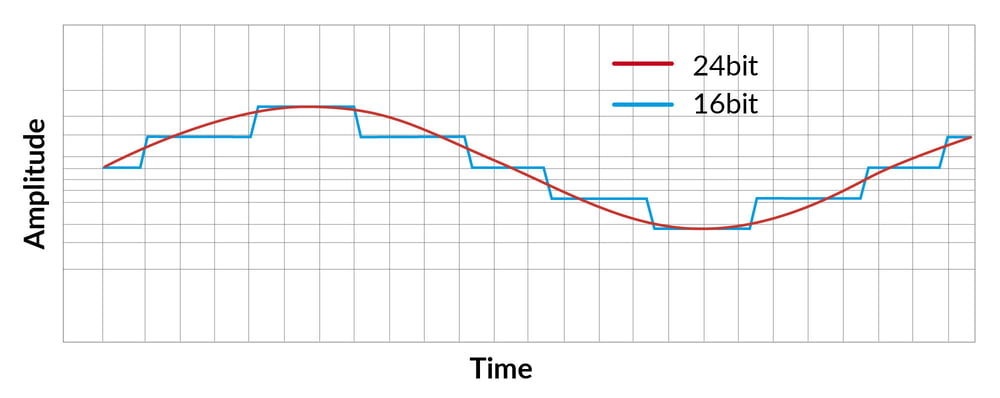
In music production, however, we work with 24-bit recording, since in production greater dynamics are required than later on in the mastered piece of music. The choice of sampling frequency is a question with many different answers. Most professional studios work with 44.1 kHz in pop music throughout the production process, since this has proven perfectly sufficient in practice. When recording highly sensitive or dynamic jazz or classical music, 96 kHz or 192 kHz are popular as well. Whether this is down to these genres' "elite" reputation or whether this truly offers improved sound, especially since the pieces will then end up on a CD which is inherently limited in sound quality is not a question we will attempt to answer here. For a home recording studio, however, 44.1 kHz and 24 bit should definitely suffice.
Cables

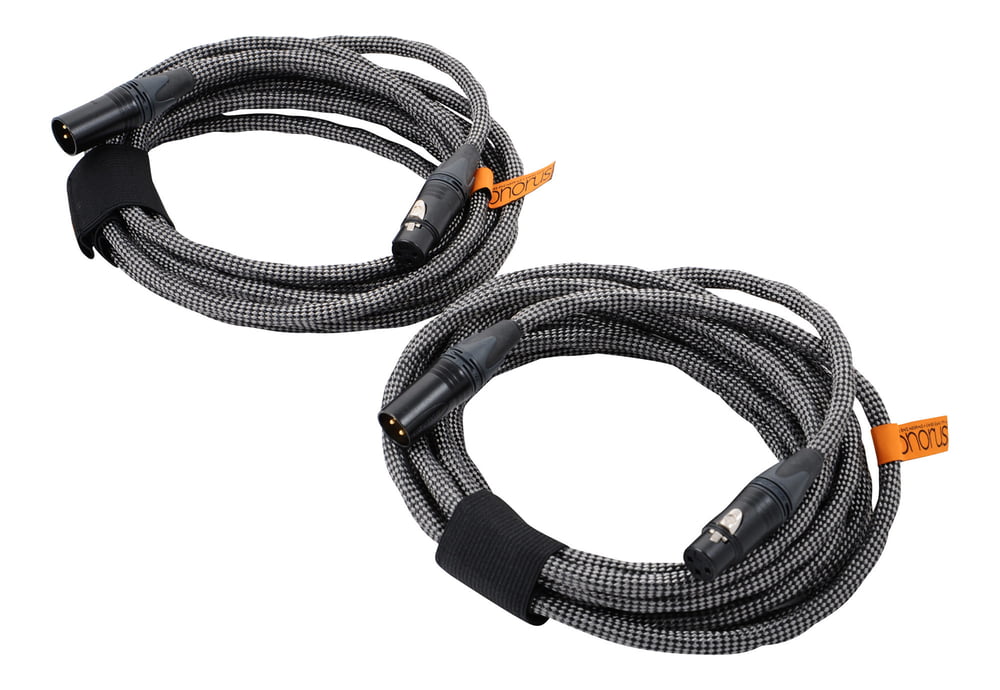
Vovox sonorus direct S 2x500 XLR/XLR
Audio cables are a topic for regular heated debates. In some discussions, you may start to believe that the sound quality is down to the choice of the right cables and nothing else. But that is definitely not so! Cables have zero mystical properties. If differences in sound do occur, they can always be explained by the cables' physical parameters. If they cannot, the difference probably only exists in the listener's mind. Even if our ears are the measure of all things in recording and mixing, they are not always good at assessing subtle differences, especially whenever suggestion and expectations play a part. The more subtle the difference, the more susceptible we are to suggestion. Many sound technicians know this. The spend 10 minutes playing around with the equaliser of the snare drum track, make tiny modifications and think they hear a definite improvement - only to then realise that the equaliser section wasn't even activated! Embarrassing? Maybe, but it's a trick of the psyche all of us can fall victim to.
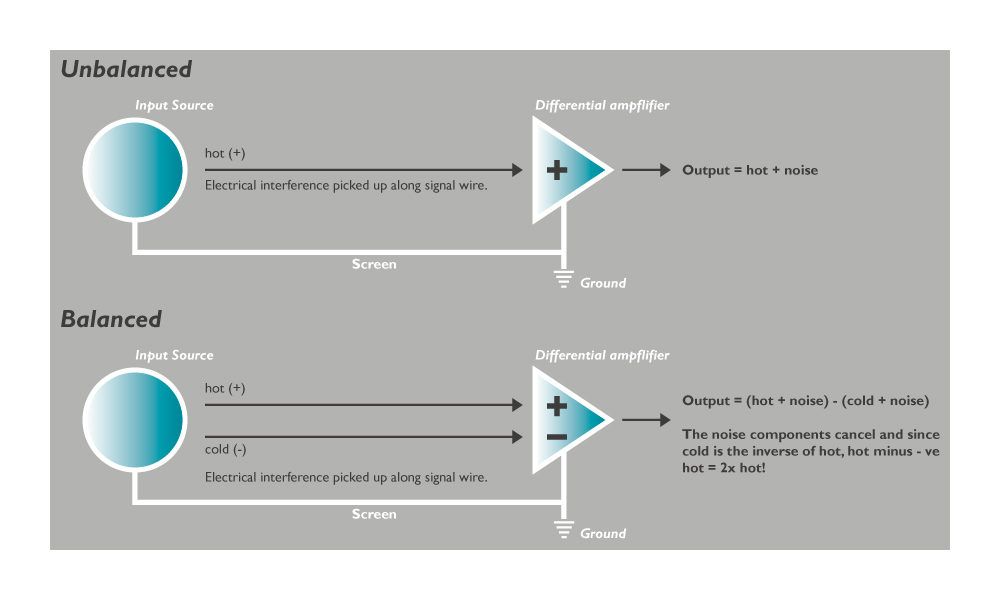
There are, however, real differences in cable quality. First of all, there are balanced and unbalanced cables. Whenever possible, you should use balanced cables. This means that whenever the devices you wish to connect have balanced ins and outs, it is possible and makes sense to use a balanced cable. Unbalanced connections are susceptible to humming and electromagnetic interference. Balanced cables suppress these phenomena very effectively.

Buy cables with high-quality connectors. Neutrik is the outstanding brand in this respect. Make sure with balanced cables that the signal wires are twisted. This makes cables less susceptible to exterior magnetic and capacitive AC fields. If your cables have to be long, they should have as little capacity as possible. Long high-capacity cables dampen the upper frequencies of the transmission range. 58 pF/m, for example, is a very good capacity value. In shielding, too, there are differences. You'll find foil shielding with a cable filler strand, cables with copper wire shielding, simple shielding and multiple shielding.


